
Toronto & GTA
Caulking Services in Toronto
Bathroom, kitchen, and exterior caulking — redone properly with the right material for the surface, sealed against water and mold. Most jobs done in a single visit.
 ⭐ 5.0 (36)·10+ yrs·$2M insured·1hr response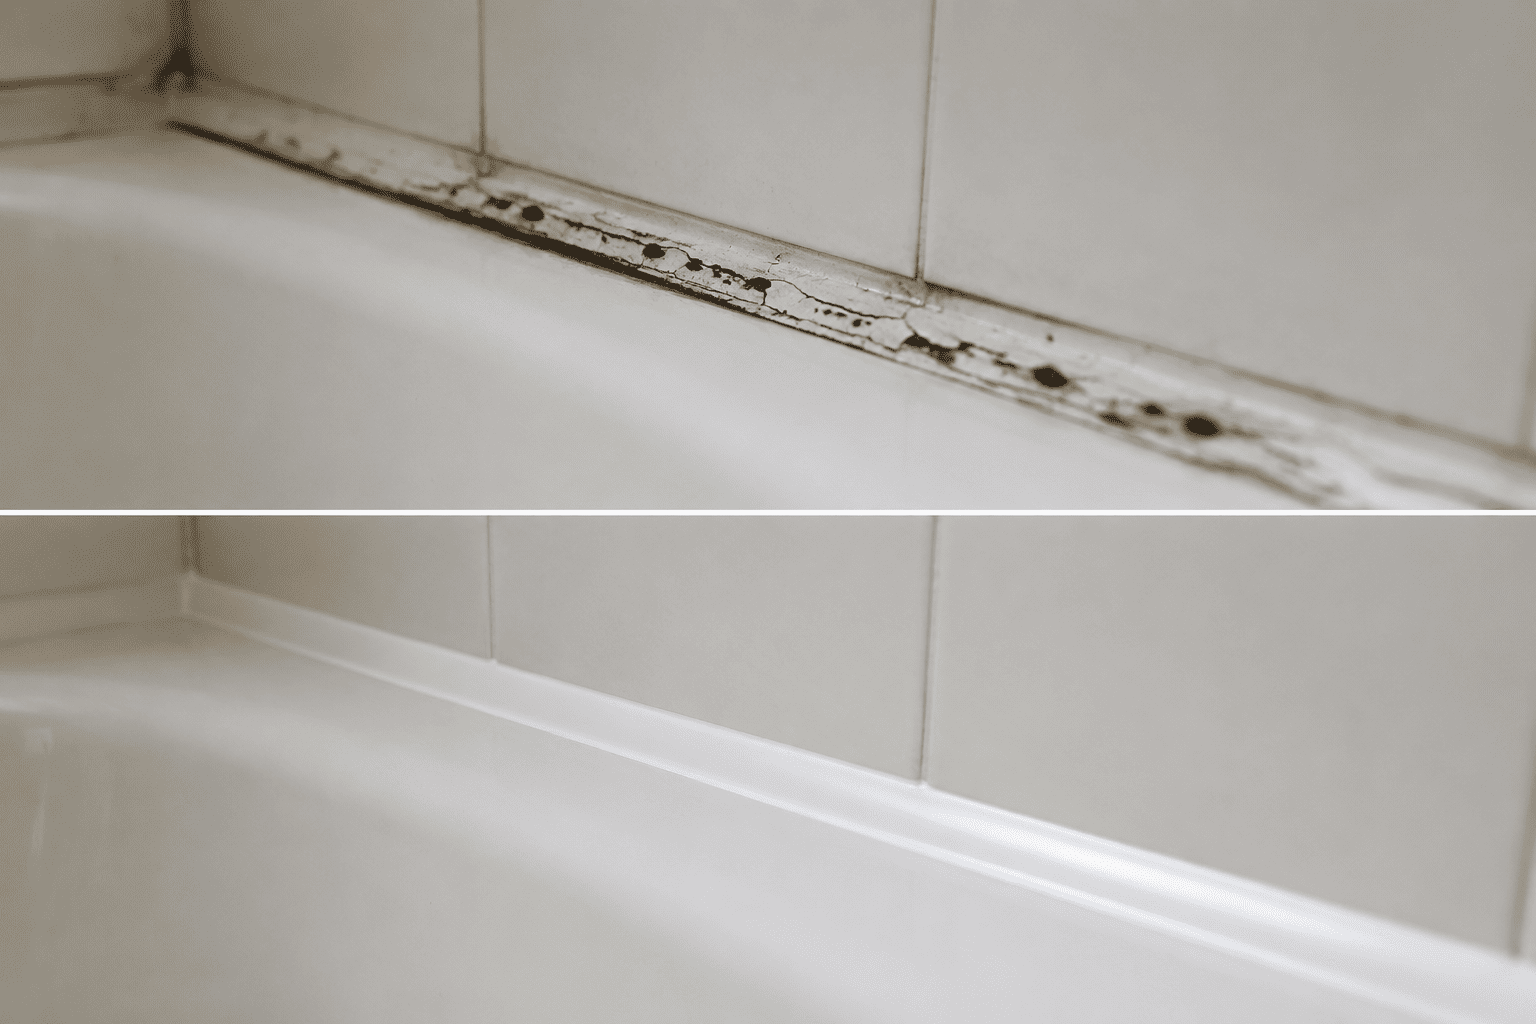
Caulking looks simple until you've dealt with the wrong kind. Silicone in a spot that needed acrylic, acrylic in a spot that needed silicone, or a bead applied over old caulking that's still full of mold — these are the three ways caulking jobs fail, and all three are common in Toronto homes. We remove the old caulking properly, prep the surface, choose the right material for what you're sealing, and apply it clean. Most bathroom and kitchen caulking jobs take under two hours. Exterior caulking is scheduled around Toronto's weather — dry days above 5°C for best cure.
Where does your caulking need attention?
Pick the area that matches your job — each one fails differently and needs a different material and approach.
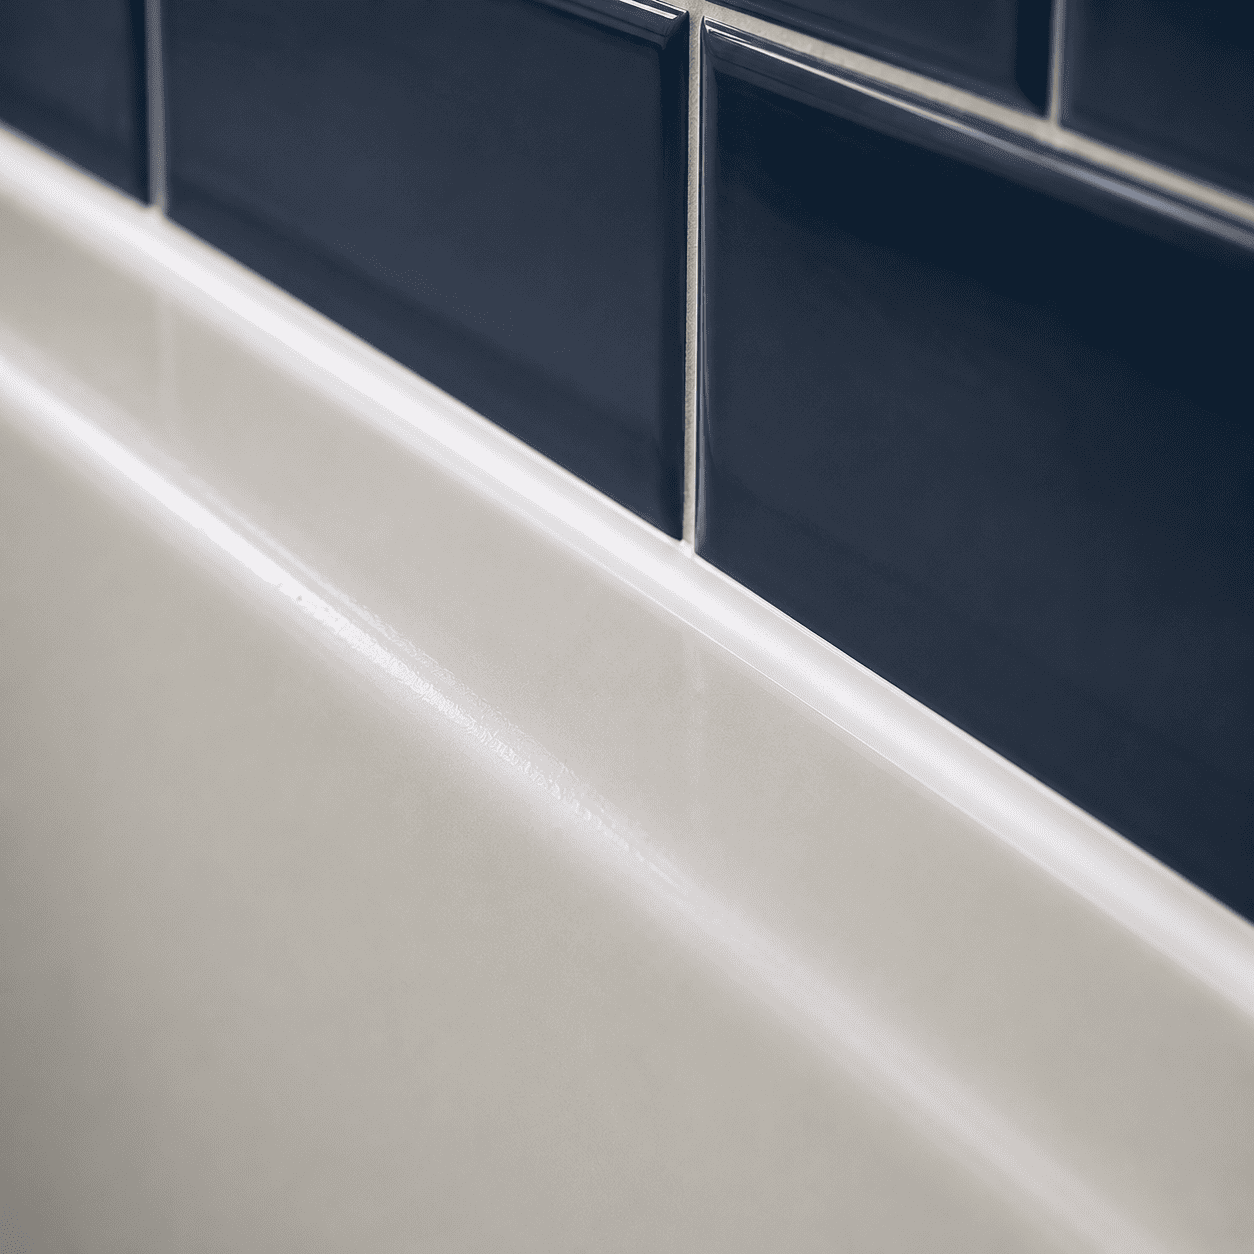
Bathroom caulking
Bathtub perimeter · Shower corners · Toilet base · Vanity backsplash
The most common caulking job we do in Toronto homes.
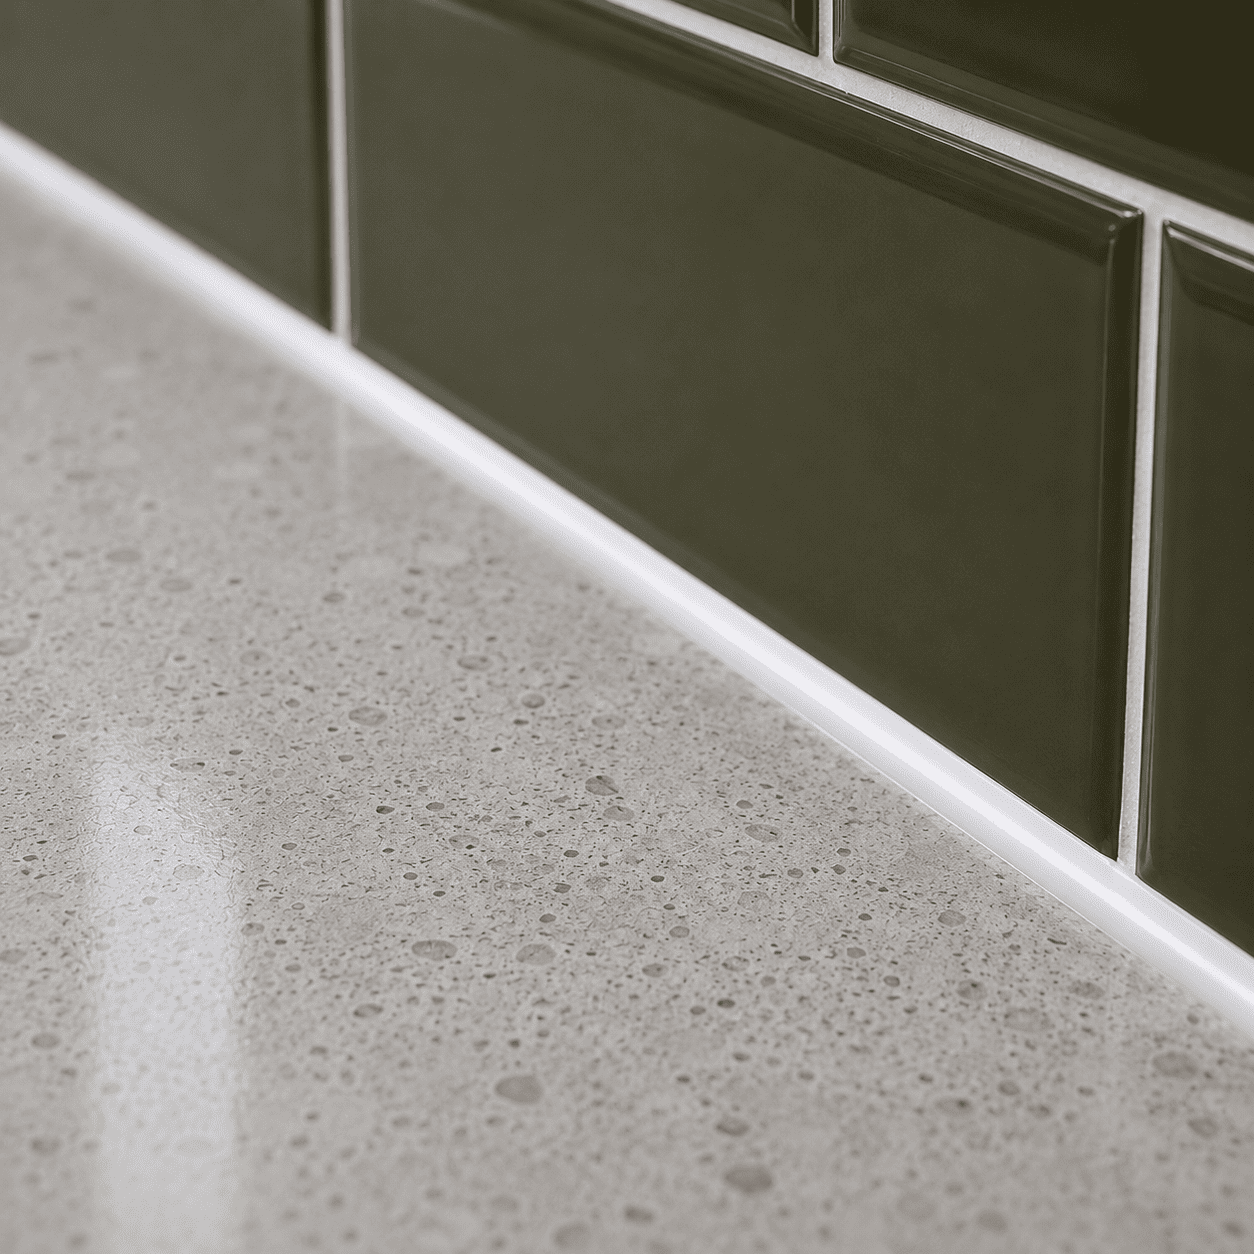
Kitchen caulking
Countertop-to-backsplash · Sink perimeter · Around the range
Sealing the joints that take daily heat, water, and movement.
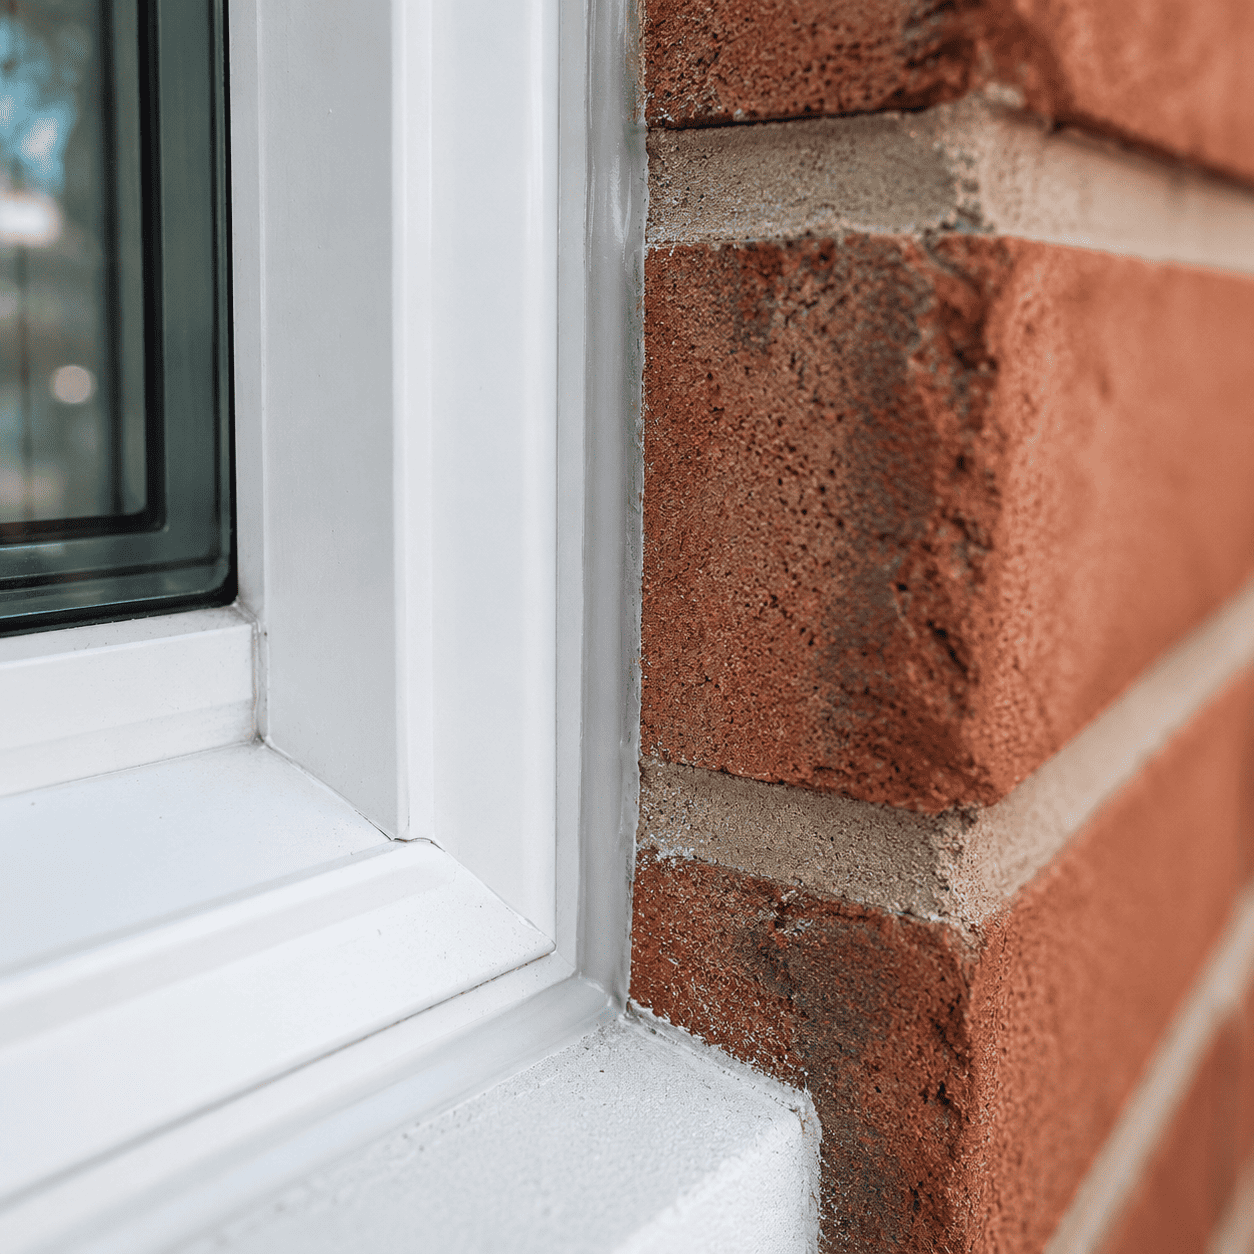
Exterior caulking
Windows · Doors · Siding gaps · Bricks/mortar-adjacent
Weatherproofing that has to survive Toronto's freeze-thaw cycle.
Silicone vs acrylic: which one you actually need
The single most common caulking mistake is using the wrong material. It's not a preference — each type does something specific and fails badly outside its use case.
For: wet areas that stay wet — bathtubs, showers, sinks, exterior joints
Why: waterproof, mold-resistant, flexible when the surface expands or contracts
The tradeoff: cannot be painted over, harder to remove cleanly, needs a mold-resistant grade for bathrooms
Where it fails: applied to trim, baseboards, or anything you plan to paint
(or acrylic-silicone hybrid)
For: dry indoor areas — trim, baseboards, crown molding, drywall gaps
Why: paintable, easier to smooth, cleaner finish for interior work
The tradeoff: not waterproof, not appropriate for constant moisture
Where it fails: bathroom tubs, showers, exterior applications
How we handle it
If a contractor caulks your bathroom with paintable acrylic to save time, the seal fails within a year.
That's why we bring both silicone and acrylic to every job and pick per surface — the right material for what we're sealing, not what's easier to work with.
How we do it
Five steps, in order, with no shortcuts. The step most contractors skip is the first one.
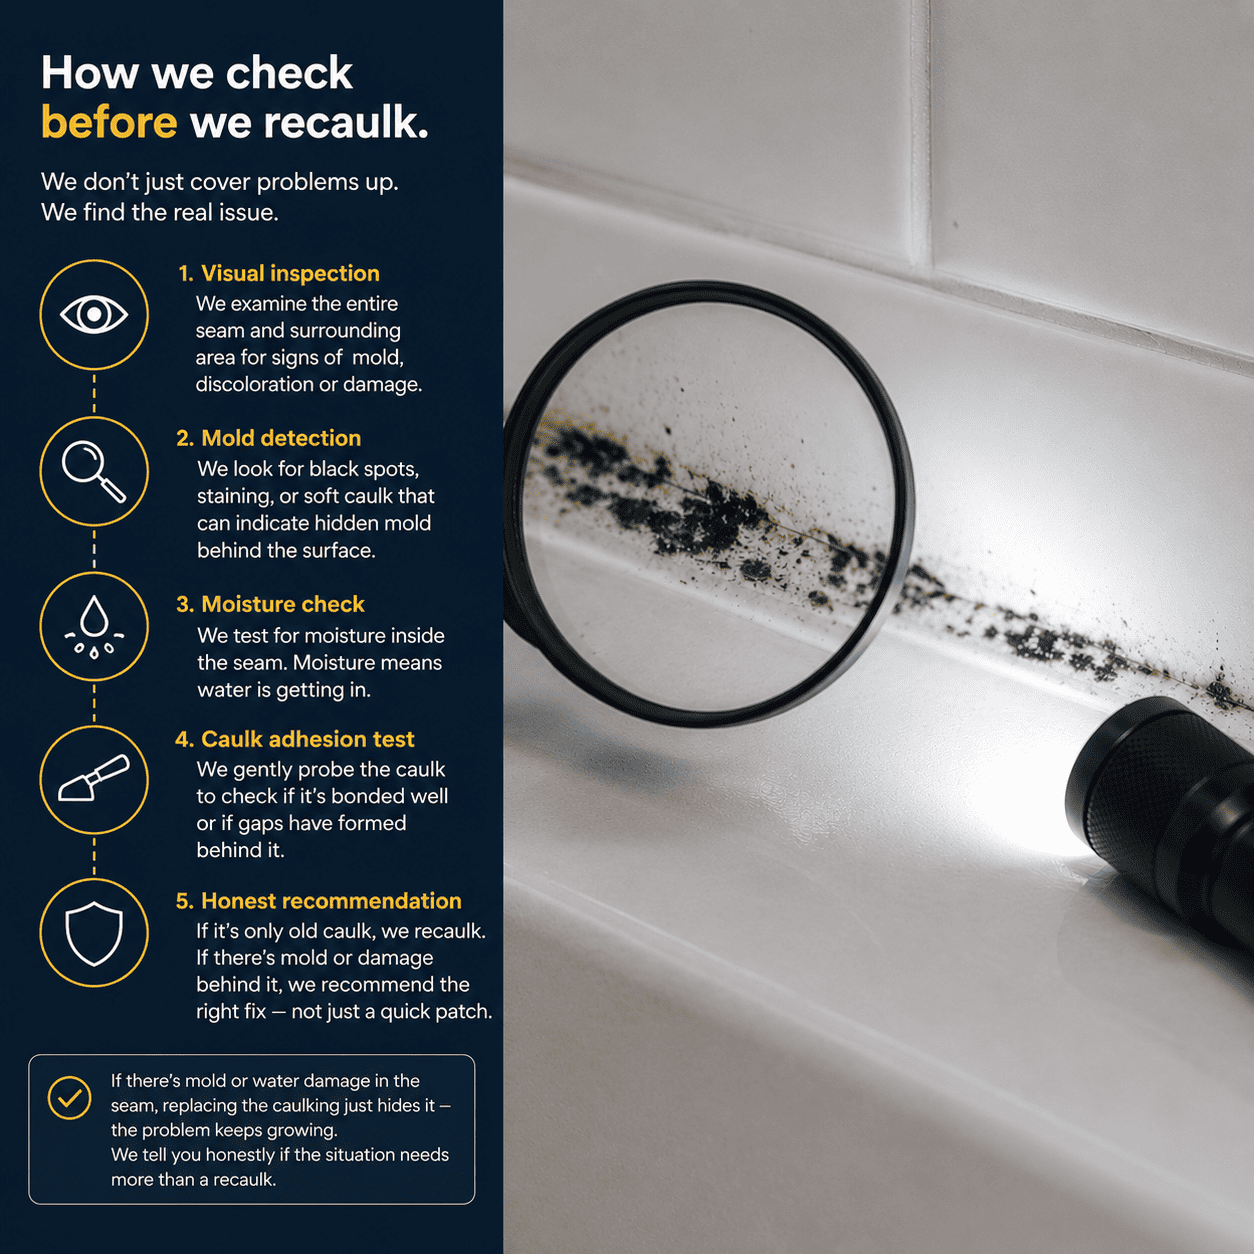
Assess and mold-check
Before we touch anything, we check what's behind the old caulking. If there's mold or water damage in the seam, replacing the caulking just hides it — the problem keeps growing. We tell you honestly if the situation needs more than a recaulk.
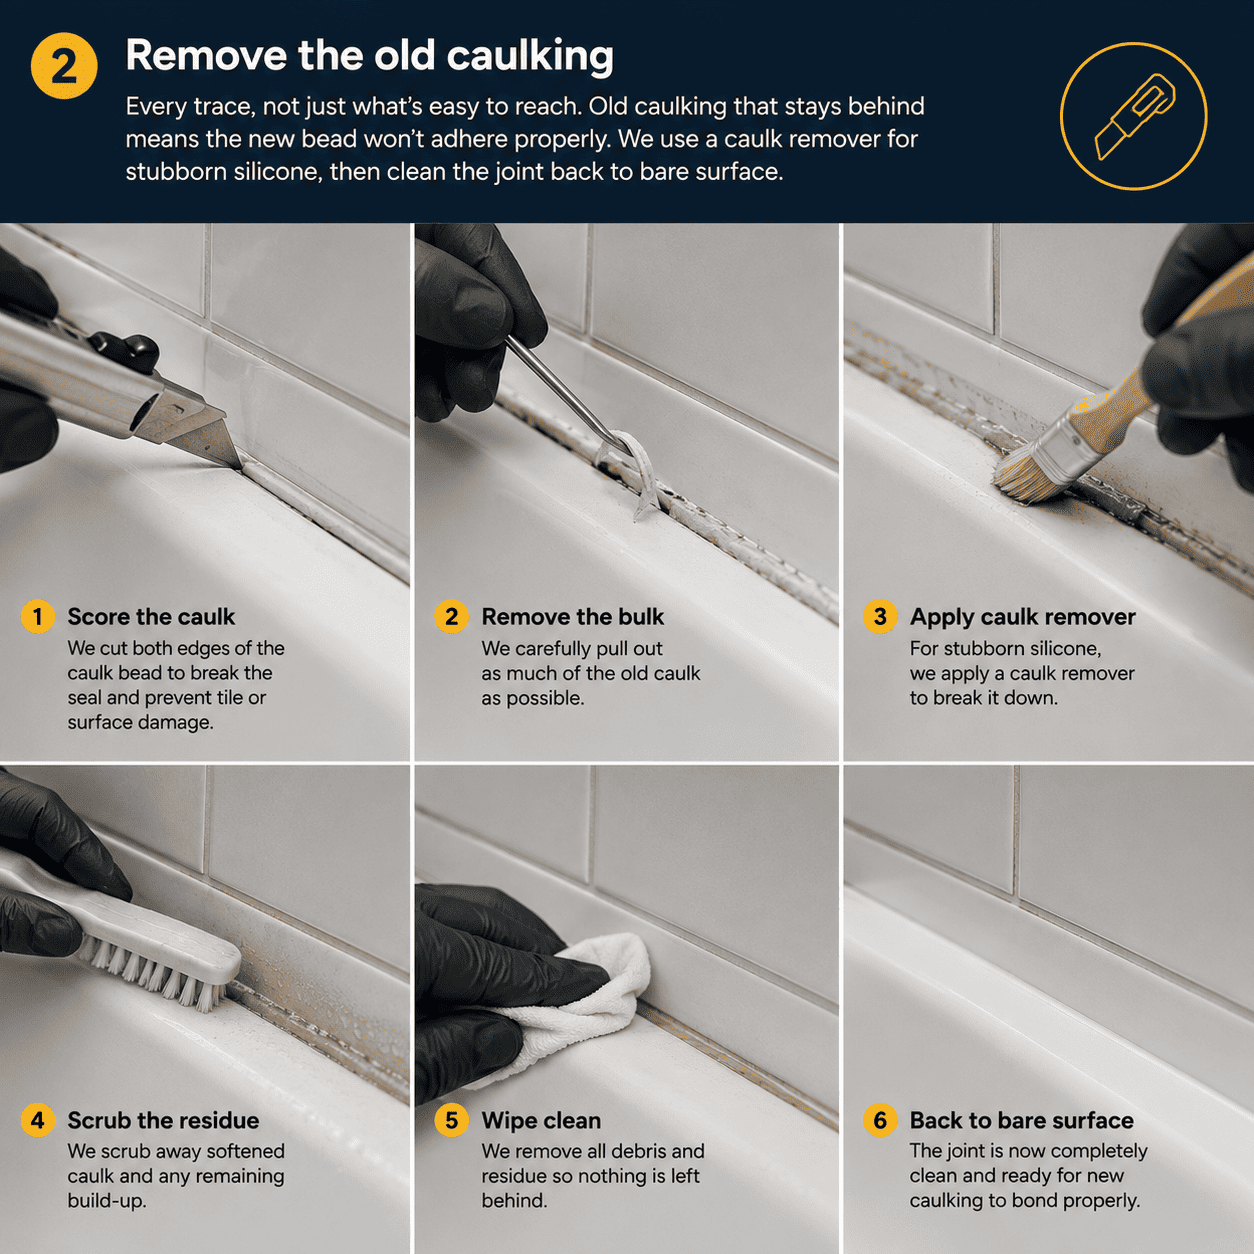
Remove the old caulking
Every trace, not just what's easy to reach. Old caulking that stays behind means the new bead won't adhere properly. We use a caulk remover for stubborn silicone, then clean the joint back to bare surface.
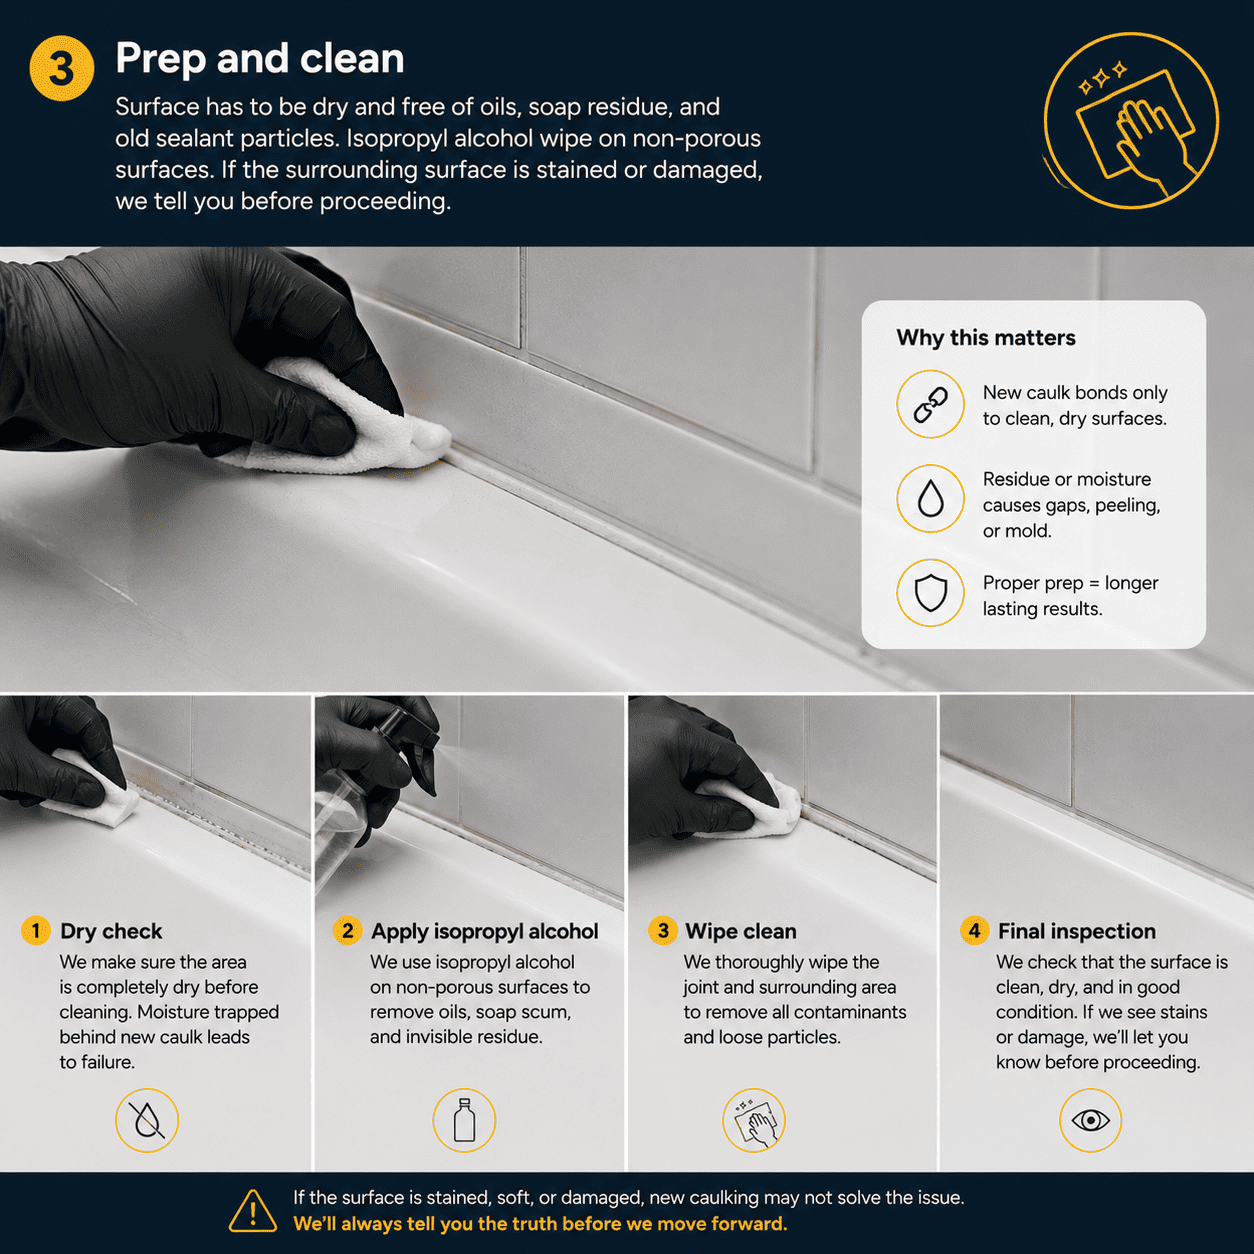
Prep and clean
Surface has to be dry and free of oils, soap residue, and old sealant particles. Isopropyl alcohol wipe on non-porous surfaces. If the surrounding surface is stained or damaged, we tell you before proceeding.
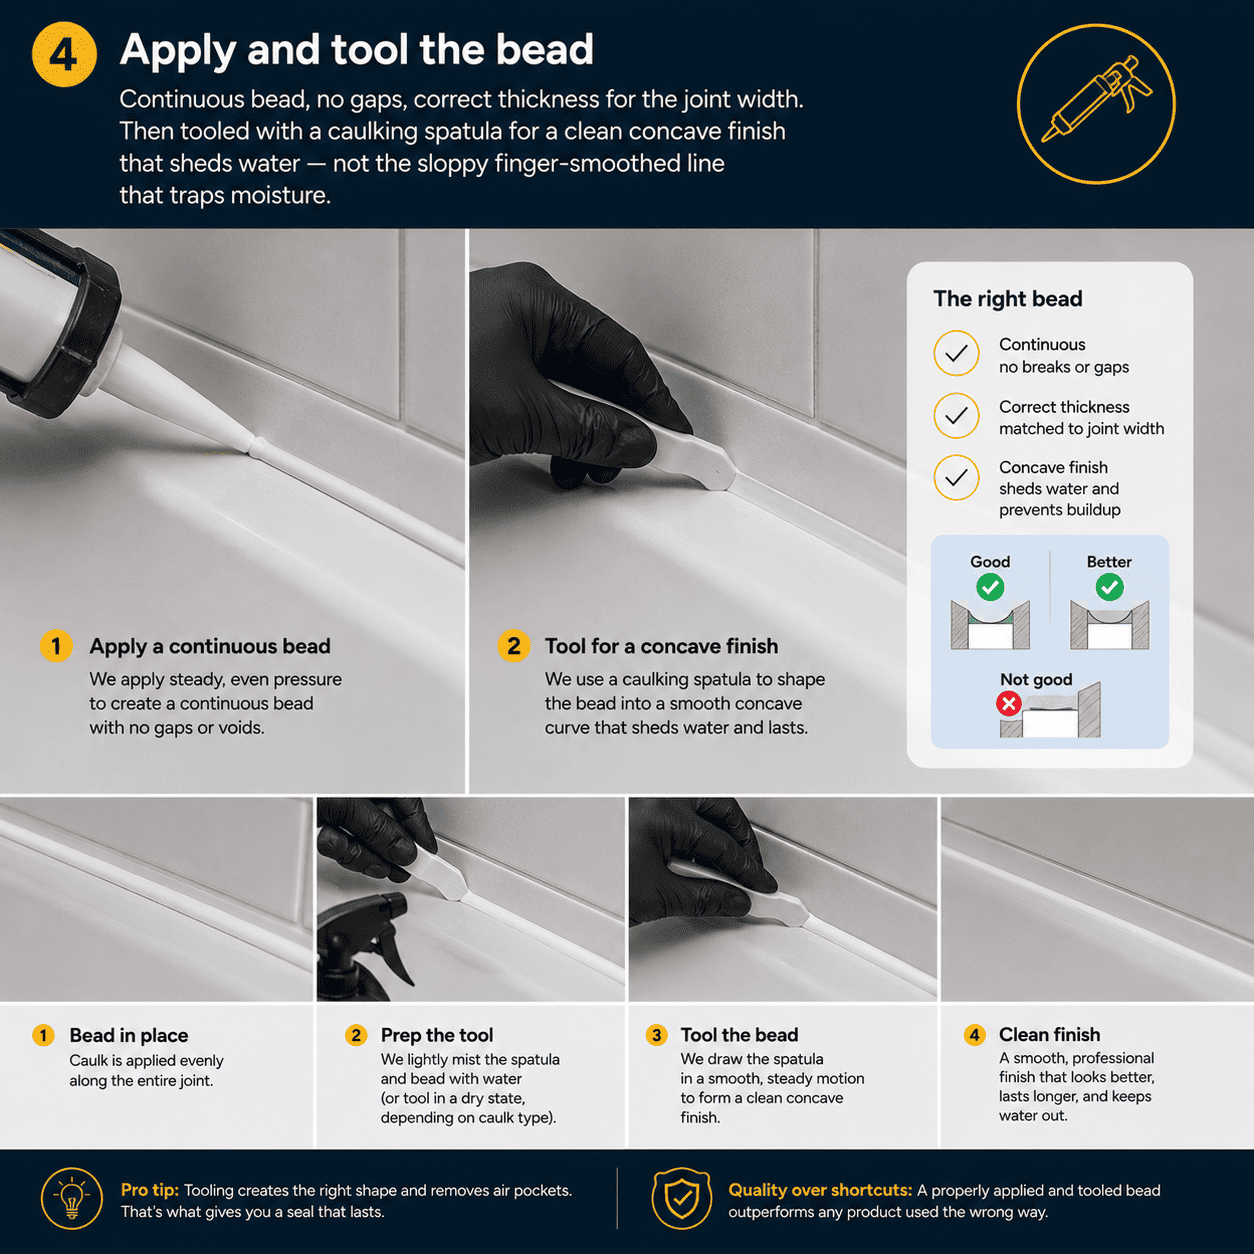
Apply and tool the bead
Continuous bead, no gaps, correct thickness for the joint width. Then tooled with a caulking spatula for a clean concave finish that sheds water — not the sloppy finger-smoothed line that traps moisture.
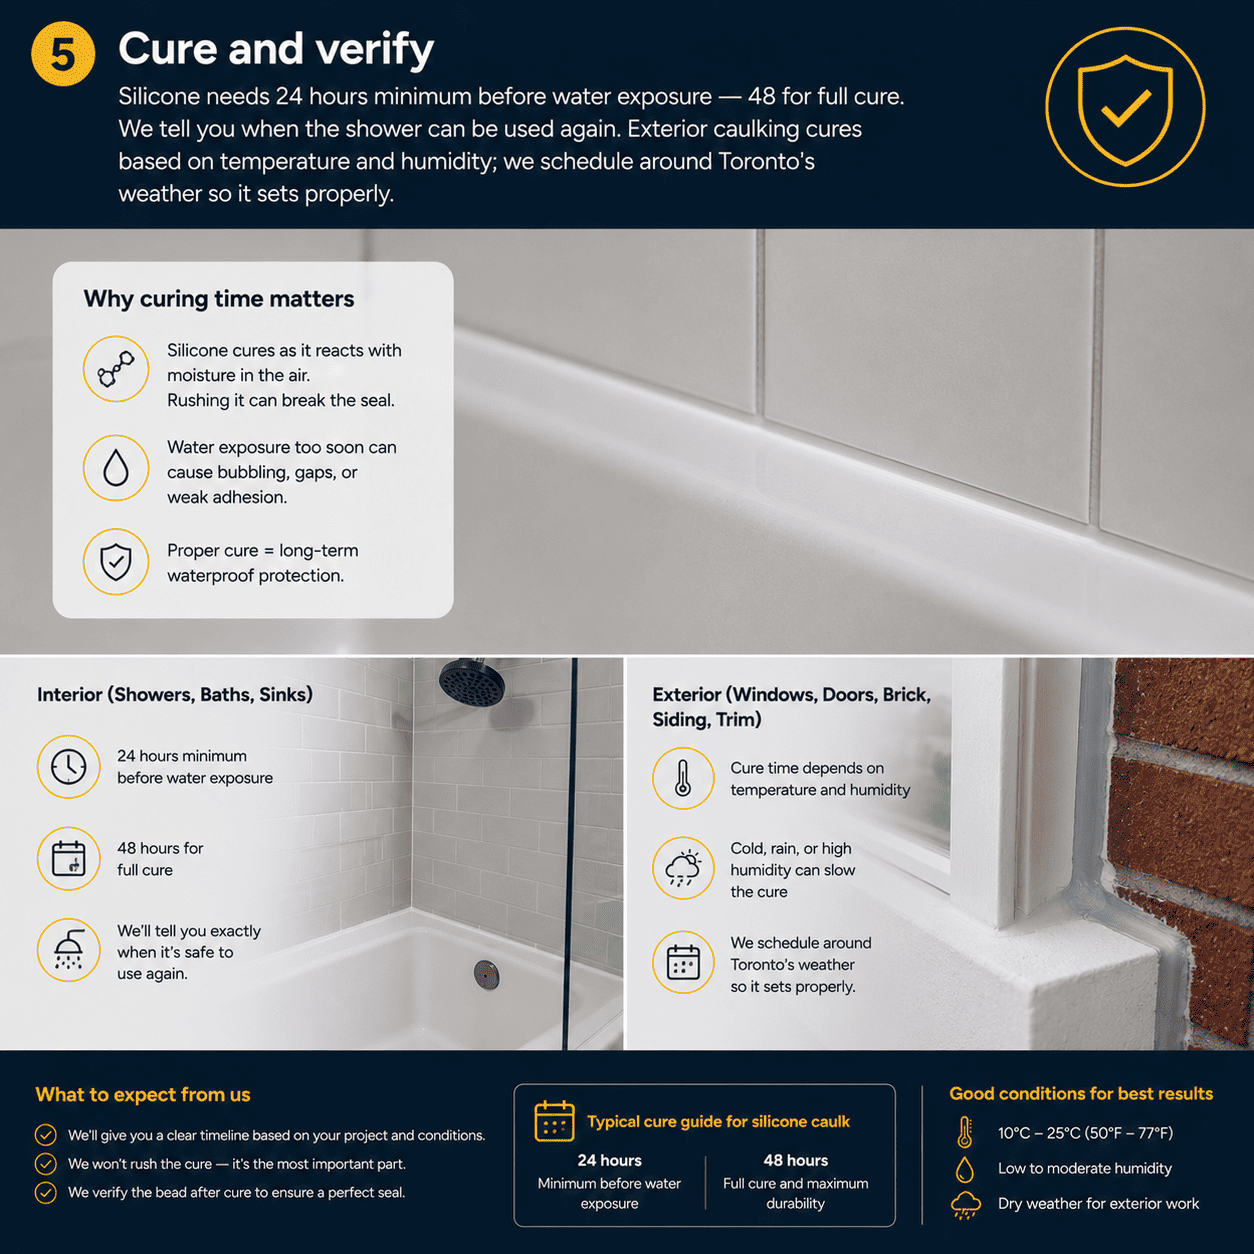
Cure and verify
Silicone needs 24 hours minimum before water exposure — 48 for full cure. We tell you when the shower can be used again. Exterior caulking cures based on temperature and humidity; we schedule around Toronto's weather so it sets properly.
Note on timing
Get a free caulking quote
Tell us what needs resealing — bathroom, kitchen, or exterior — and we'll get you a price. Most jobs done in a single visit.
Caulking prices in Toronto
Straightforward pricing by job type. Every job is confirmed after we see what's there — heavy old-caulking removal or hidden damage can shift the number.
Caulking cost estimator
Ballpark your project in seconds — adjust the length, caulk type, and access below.
Typical
$1,058
High
$2,117
Roughly Materials ~40% · Labor ~50% · Cleanup & PM ~10%
This is an estimate
Single bathroom fixture (tub OR shower OR toilet base)
$150–$220
1–1.5 hrs on siteFull bathroom re-caulk (tub + shower + toilet + vanity)
$280–$450
2–3 hrs on siteKitchen re-caulk (countertop, backsplash, sink)
$180–$320
1.5–2 hrs on siteExterior windows/doors (per opening)
$80–$180
15-30 min per openingCombined bathroom + kitchen re-caulk
$400–$650
3–4 hrs on siteGot multiple repairs?
Bundle three or more repairs into one visit and we discount each — usually 15–25% off per repair.
Ask about bundle pricing →What moves the price
Every job is quoted individually — these are the variables that shift the number.
Amount of old caulking to remove
Heavy silicone buildup takes time to strip back to bare surface.
Mold or water damage
What we find during removal can change the scope beyond a simple recaulk.
Surface material
Natural stone counters need extra care with solvents so nothing etches or stains.
Exterior height
Second-story windows need ladder work, which adds time and setup.
Condo access factors
Parking, elevator booking, and building rules affect scheduling.
Send a photo, get an exact price within the hour.
The bundle math
Condo caulking work in Toronto
Condo bathroom re-caulks are one of our most common jobs — the standard 5-year condo bathroom looks fine but the sealant is done. We work with property management on scheduling, send insurance certificates before we arrive, and follow building rules for noise and elevator use. Most units done in a single 2-hour visit.
For landlords and property managers: we do multi-unit caulking batches at a bundled rate. Get in touch about your portfolio.
What we won't do
- Caulk over existing caulking without removing the old bead — it never adheres properly
- Skip a mold check when the old caulking is visibly compromised
- Use the wrong material to save time (acrylic in wet zones, silicone where you'll want to paint)
- Rush the cure time — 24 hours minimum before water exposure on silicone, no exceptions
Why Torr for caulking
More from Torr Handyman
Service areas
Frequently asked questions
Ready to reseal it properly?
Bathroom, kitchen, or exterior — old caulking removed, the right material for every surface, mold-checked before we start. Most jobs done in a single visit.
$2M liability insurance · Condo-ready paperwork · Right material for every surface